Battle of Hastings
The day that remade England — the Anglo-Saxon shield-wall, the feigned Norman retreats, and the death of Harold (14 October 1066).
Scroll to advance through the battle ↓
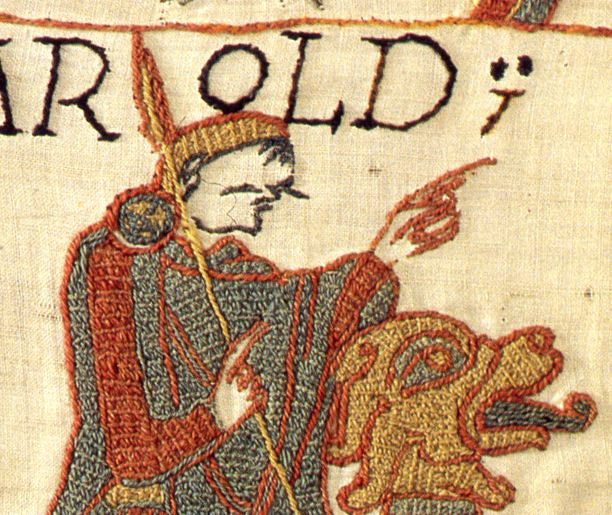 Harold Godwinson
Armies form up on Senlac ridge
Harold arrays the English in a dense shield-wall along the crest of Senlac ridge, housecarls in the centre and fyrd on the flanks, with marshy ground and slope protecting his front. William deploys below to the south in three divisions — Bretons on the left, Normans in the centre, French and Flemings on the right — each ranked archers, then infantry, then cavalry.
 William the Conqueror
Norman archery falls short
William opens the battle with an archery barrage, but shooting uphill the arrows either bounce off the overlapping English shields or fly over the line. Because the English field almost no archers, the Normans cannot recover and reuse spent arrows, blunting the volley's effect.
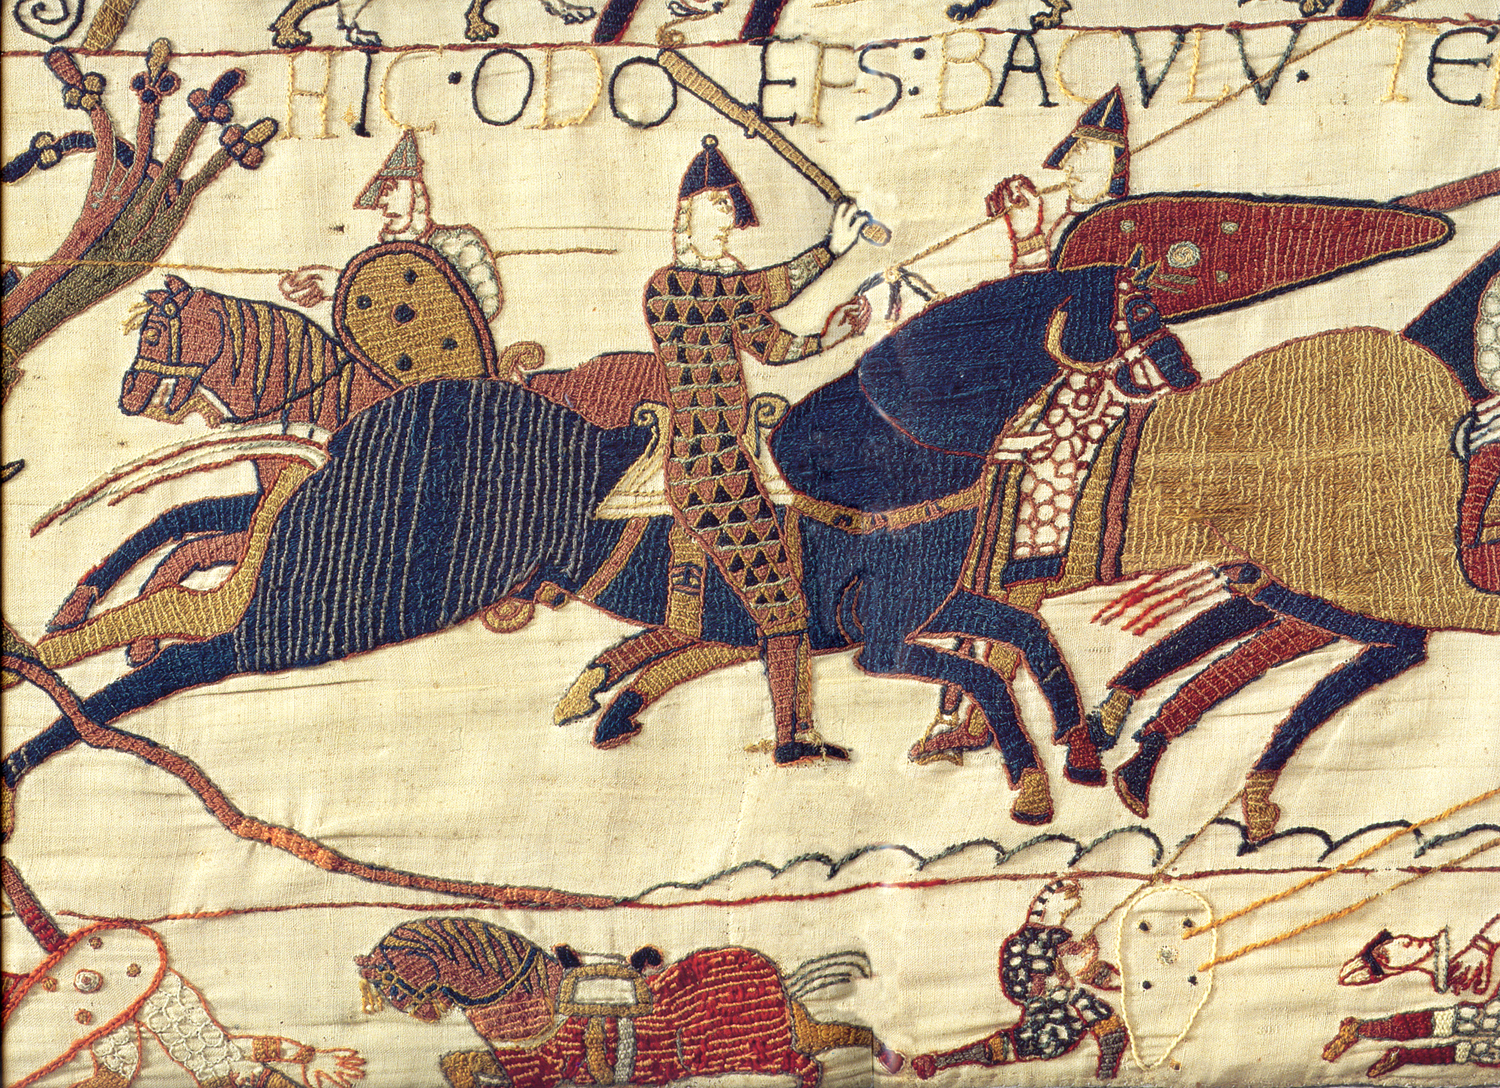 Odo of Bayeux
Spearmen storm the shield-wall
Norman spearmen advance up the slope into the shield-wall and are met with a hail of thrown spears, axes and stones. The infantry cannot force any opening; the wall holds firm along the crest and the assault stalls.
William the ConquerorMounted knights fail to break the line
Norman cavalry charges in support of the infantry, but the slope and the packed shield-wall blunt the horses' impact. The English hold their ground and the mounted assault also fails to make headway against the wall.
 Alan Rufus
The Breton left breaks and flees
On William's left (the English right, western end of the ridge) the Breton division gives way and flees down the slope. A rumour spreads that William has been killed, threatening a general Norman rout. Part of the English right breaks formation to pursue the fleeing Bretons downhill.
William the ConquerorWilliam rallies and cuts down the pursuers
William rides through his wavering men, lifts his helmet to show his face and shouts that he is still alive. He leads a counter-charge that surrounds and destroys the English who had broken ranks to chase the Bretons — turning the crisis into a demonstration of how a false flight could shatter the shield-wall.
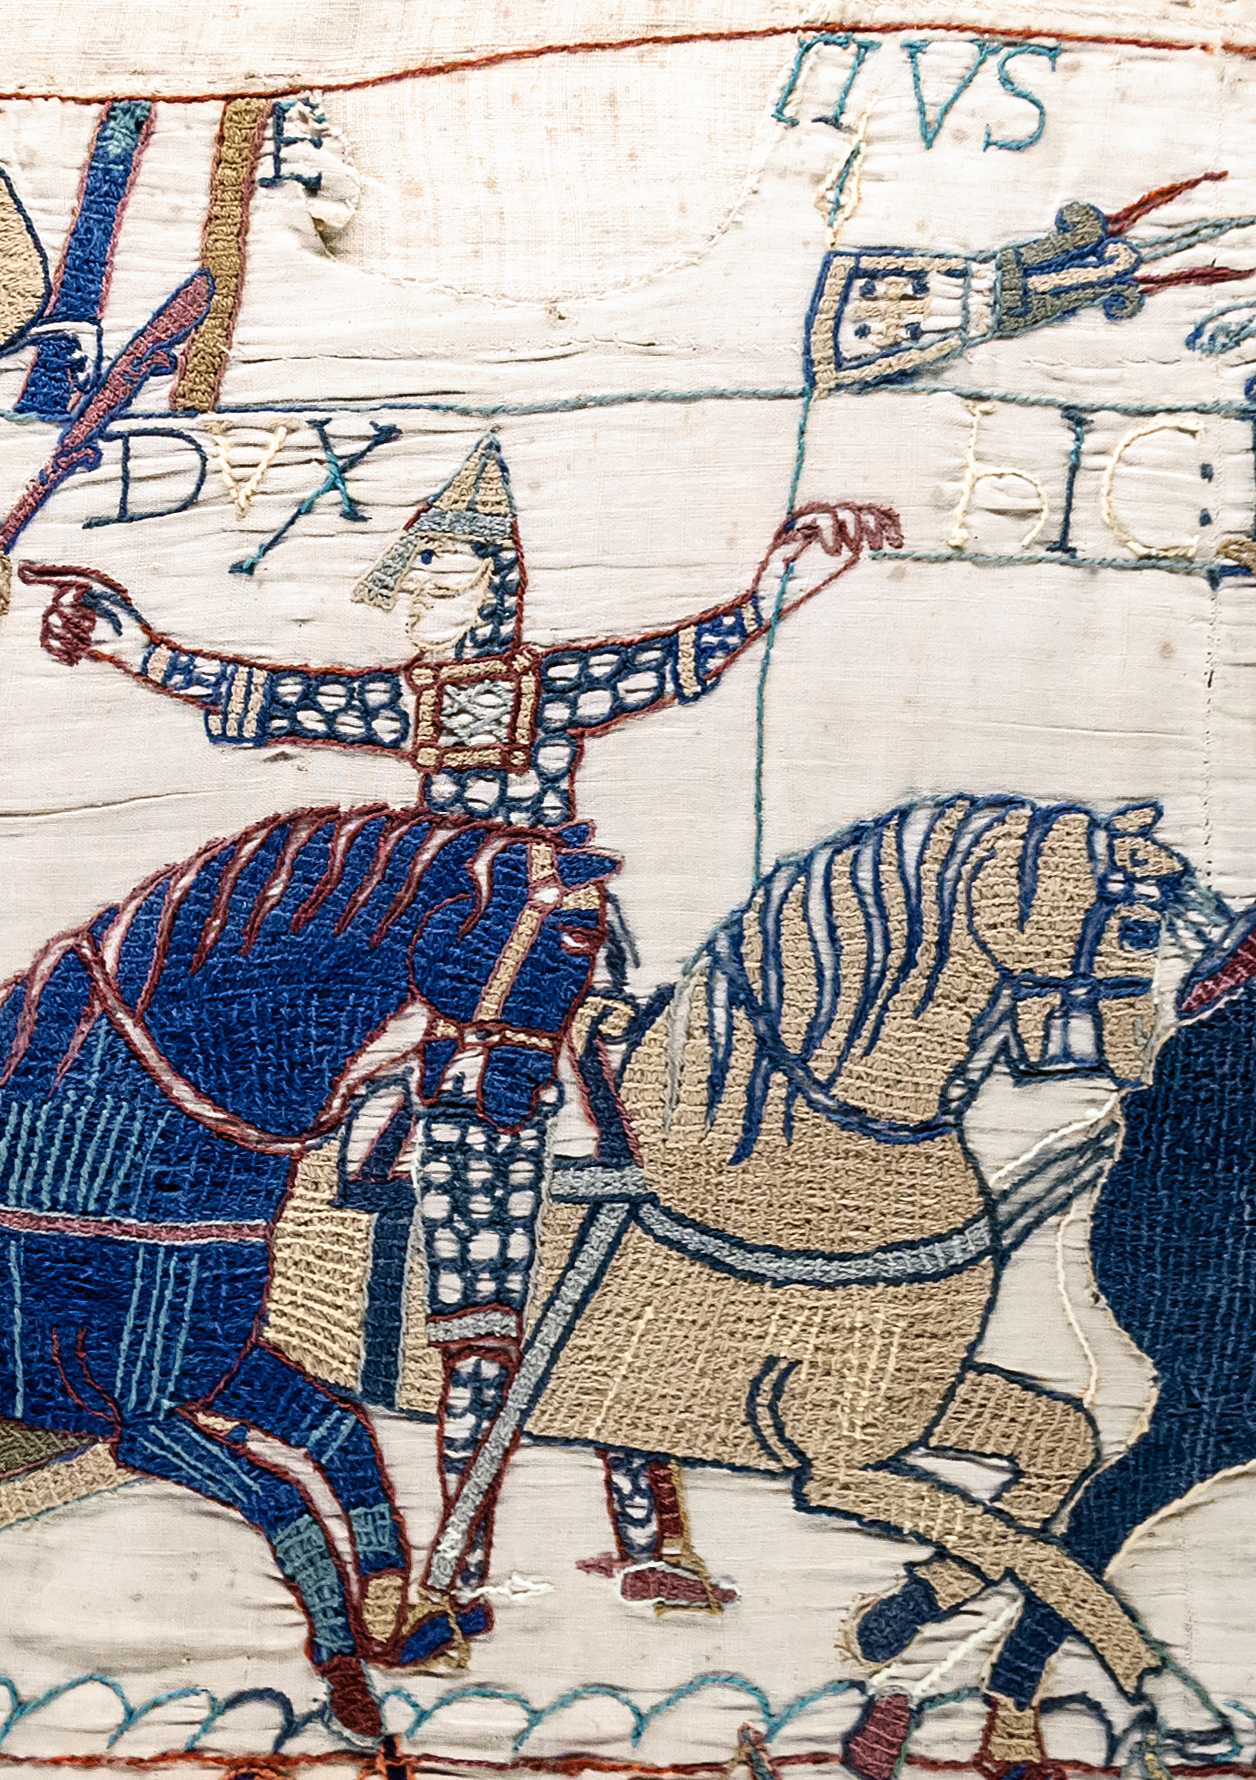 Eustace II, Count of Boulogne
Gyrth and Leofwine are slain
During the fighting on the ridge Harold's brothers Earl Gyrth and Earl Leofwine are killed. The Bayeux Tapestry shows their deaths in the melee; their loss removes two of the English command and weakens the defence, though whether they fell early or late in the day is debated.
William the ConquerorFirst feigned retreat
After a midday lull, William turns the earlier accident into a deliberate ruse. Norman cavalry charges the wall, then wheels and flees; English fighters again break ranks to pursue and are cut down in the open. William of Poitiers reports the tactic was used twice, thinning Harold's veteran housecarls.
Eustace II, Count of BoulogneSecond feigned retreat thins the wall
A second feigned flight draws out more of the English. As housecarls fall and are replaced by less-disciplined fyrd, gaps begin to open in the once-solid shield-wall, though it still holds along the crest. The English position is now dangerously worn down.
William the ConquerorCombined archery and cavalry break in
In the late afternoon William combines high-angle archery with renewed cavalry and infantry pressure on the thinned wall. Arrows now fall onto the English behind their shields while knights exploit the gaps, and the assault finally begins to penetrate the English line on the ridge.
Harold GodwinsonKing Harold is killed
Harold falls near his standards on the ridge — by tradition struck in the eye by an arrow and/or cut down by Norman knights, as suggested by the Bayeux Tapestry. His household guard fights to the last around his body, but with the king dead the English lose their leader and their will to hold.
William the ConquerorEnglish collapse and the Malfosse stand
Leaderless, the English break and flee north into the woods as the Normans pursue. A last group rallies at the Malfosse — the 'evil ditch' — and wounds Count Eustace before being overwhelmed. Organized resistance ends and William holds the field, opening the way to the Conquest of England.
Phase by phase
- Deployment · c. 09:00Harold GodwinsonArmies form up on Senlac ridgeHarold arrays the English in a dense shield-wall along the crest of Senlac ridge, housecarls in the centre and fyrd on the flanks, with marshy ground and slope protecting his front. William deploys below to the south in three divisions — Bretons on the left, Normans in the centre, French and Flemings on the right — each ranked archers, then infantry, then cavalry.Senlac ridge, Battle, East Sussex · documented · Wikipedia: Battle of Hastings (deployment); Historic England Battlefield Report: Hastings 1066
- Opening assault · c. 09:00–09:30William the ConquerorNorman archery falls shortNormans (William)William opens the battle with an archery barrage, but shooting uphill the arrows either bounce off the overlapping English shields or fly over the line. Because the English field almost no archers, the Normans cannot recover and reuse spent arrows, blunting the volley's effect.Southern slope below the ridge · reconstructed · Wikipedia: Battle of Hastings (opening archery); William of Poitiers, Gesta Guillelmi
- Infantry assault · c. 09:30–10:30Odo of BayeuxSpearmen storm the shield-wallNormans (William)Norman spearmen advance up the slope into the shield-wall and are met with a hail of thrown spears, axes and stones. The infantry cannot force any opening; the wall holds firm along the crest and the assault stalls.Southern face of Senlac ridge · reconstructed · Wikipedia: Battle of Hastings (infantry and cavalry assaults); William of Poitiers, Gesta Guillelmi
- Cavalry charge · c. 10:30–11:00William the ConquerorMounted knights fail to break the lineNormans (William)Norman cavalry charges in support of the infantry, but the slope and the packed shield-wall blunt the horses' impact. The English hold their ground and the mounted assault also fails to make headway against the wall.Southern face of Senlac ridge · reconstructed · Wikipedia: Battle of Hastings (cavalry assaults); William of Poitiers, Gesta Guillelmi
- Crisis · c. 11:00Alan RufusThe Breton left breaks and fleesNormans (William)On William's left (the English right, western end of the ridge) the Breton division gives way and flees down the slope. A rumour spreads that William has been killed, threatening a general Norman rout. Part of the English right breaks formation to pursue the fleeing Bretons downhill.West end of the field, Norman left / English right · reconstructed · Wikipedia: Battle of Hastings (first Norman rout, blamed on the Breton division); William of Poitiers, Gesta Guillelmi
- Recovery · c. 11:00–11:30William the ConquerorWilliam rallies and cuts down the pursuersNormans (William)William rides through his wavering men, lifts his helmet to show his face and shouts that he is still alive. He leads a counter-charge that surrounds and destroys the English who had broken ranks to chase the Bretons — turning the crisis into a demonstration of how a false flight could shatter the shield-wall.Lower slope, Norman left / English right · reconstructed · Wikipedia: Battle of Hastings (William shows his face, counter-attacks pursuers); Bayeux Tapestry (William raises helmet)
- Attrition · c. 12:00Eustace II, Count of BoulogneGyrth and Leofwine are slainAnglo-Saxons (Harold)During the fighting on the ridge Harold's brothers Earl Gyrth and Earl Leofwine are killed. The Bayeux Tapestry shows their deaths in the melee; their loss removes two of the English command and weakens the defence, though whether they fell early or late in the day is debated.English line on the ridge crest, eastern sector · reconstructed · Bayeux Tapestry (deaths of Gyrth and Leofwine); Wikipedia: Battle of Hastings
- Feigned retreat · c. 13:00William the ConquerorFirst feigned retreatNormans (William)After a midday lull, William turns the earlier accident into a deliberate ruse. Norman cavalry charges the wall, then wheels and flees; English fighters again break ranks to pursue and are cut down in the open. William of Poitiers reports the tactic was used twice, thinning Harold's veteran housecarls.Slope in front of the English centre · reconstructed · William of Poitiers, Gesta Guillelmi (feigned retreats, used twice); Wikipedia: Battle of Hastings
- Feigned retreat · c. 14:00Eustace II, Count of BoulogneSecond feigned retreat thins the wallNormans (William)A second feigned flight draws out more of the English. As housecarls fall and are replaced by less-disciplined fyrd, gaps begin to open in the once-solid shield-wall, though it still holds along the crest. The English position is now dangerously worn down.Slope in front of the English left, eastern sector · reconstructed · William of Poitiers, Gesta Guillelmi (second feigned retreat); Wikipedia: Battle of Hastings
- Final assault · c. 16:00William the ConquerorCombined archery and cavalry break inNormans (William)In the late afternoon William combines high-angle archery with renewed cavalry and infantry pressure on the thinned wall. Arrows now fall onto the English behind their shields while knights exploit the gaps, and the assault finally begins to penetrate the English line on the ridge.Southern face of the ridge, English centre · reconstructed · Wikipedia: Battle of Hastings (final assault, combined archery and cavalry); William of Poitiers
- Death of Harold · c. 16:30Harold GodwinsonKing Harold is killedAnglo-Saxons (Harold)Harold falls near his standards on the ridge — by tradition struck in the eye by an arrow and/or cut down by Norman knights, as suggested by the Bayeux Tapestry. His household guard fights to the last around his body, but with the king dead the English lose their leader and their will to hold.Harold's standard on the ridge crest (site of Battle Abbey high altar) · reconstructed · Bayeux Tapestry (Harold's death); William of Poitiers; Wikipedia: Battle of Hastings (death late in battle, arrow account from 1080s)
- Collapse · DuskWilliam the ConquerorEnglish collapse and the Malfosse standLeaderless, the English break and flee north into the woods as the Normans pursue. A last group rallies at the Malfosse — the 'evil ditch' — and wounds Count Eustace before being overwhelmed. Organized resistance ends and William holds the field, opening the way to the Conquest of England.North of the ridge, toward the Malfosse · reconstructed · Wikipedia: Battle of Hastings (collapse and Malfosse); Malfosse (Wikipedia); Carmen de Hastingae Proelio
Sources
- https://en.wikipedia.org/wiki/Battle_of_Hastings
- https://historicengland.org.uk/content/docs/listing/battlefields/hastings/
- https://en.wikipedia.org/wiki/Bayeux_Tapestry
- https://en.wikipedia.org/wiki/Malfosse
- William of Poitiers, Gesta Guillelmi (c. 1071–77)
- The Bayeux Tapestry (c. 1070s)
On the data
Coordinates are RECONSTRUCTED. Only two points are firmly documented on the ground: the ridge crest / English position (marked today by Battle Abbey, whose high altar tradition places at the spot Harold fell, ~50.9114,0.4873) and the general Norman approach from the south up Senlac slope (from the Telham/Hastings direction). Per-phase lateral positions of the Breton left (English right / west), the French-Flemish right (English left / east), and the Norman centre are inferred from the standard three-division deployment and the ridge's roughly east–west orientation facing south-southeast — plausible but not archaeologically fixed. Intra-battle movements (opening archery ineffectiveness, the Breton rout, the two feigned retreats, the deaths of Gyrth and Leofwine, Harold's death) derive from William of Poitiers, William of Jumièges, the Carmen de Hastingae Proelio and the Bayeux Tapestry — near-contemporary but partisan, sometimes contradictory, and written by the victors. The arrow-in-the-eye death of Harold is the traditional account but the earliest written version dates only to the 1080s and the Tapestry image is ambiguous; historians treat it as uncertain. Whether the feigned retreats were genuine tactics or a post-battle literary gloss on real routs is debated, though most historians accept at least some deliberate feigned flight. Casualty figures (~2,000 Norman, ~4,000 English) are rough estimates. Timings (9am start, midday lull, dusk collapse) are approximate.
Hand-authored from the sources below. Spotted a mistake? Email [email protected].